Building a Reliable, Solar-Powered Weather Station for Home Assistant
Sep 12, 2025 - ⧖ 5 minAfter several frustrating attempts to get accurate and reliable outdoor temperature and humidity readings using off-the-shelf components, I decided to build my own solution. My goal was simple: a weather station that just works, without constant battery changes or signal dropouts.
Why Off-the-Shelf Solutions Failed
Before diving into the DIY route, I tried a few common approaches—each with its own set of problems:
| Attempt | Issue |
|---|---|
| Zigbee sensor | Poor range and short battery life in cold weather |
| Battery-powered ESP32 | Frequent battery replacements, often left dead for weeks |
| 433MHz sensor | Too much noise and complexity in decoding signals |
I needed something always online, low-maintenance, and weatherproof.
The Plan: A Solar-Powered, Hassle-Free Weather Station
I wanted a system I could install outside and forget about. No battery swaps, no signal issues, and no unexpected failures. Here’s how I made it happen:
Hardware: Solar-Powered and Weatherproof
Components Used
- Microcontroller: FireBeetle ESP32-C6
- Low power, Wi-Fi enabled, and perfect for ESPHome.
- Power: 2000mAh 3.7V LiPo battery + cheap solar panel
- The solar panel keeps the battery topped up, even in winter.
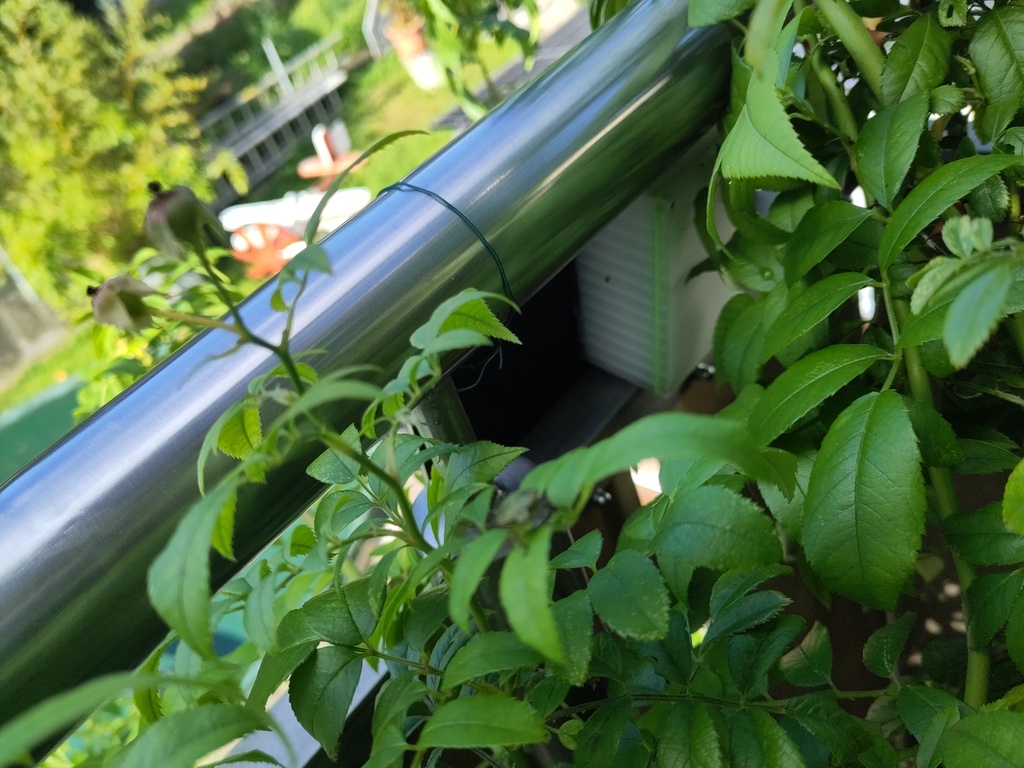
- Enclosure: Custom 3D-printed box with heat inserts and a TPU (95A) seal
- Designed to keep rain out
- Sensors:
- HTU21D for temperature and humidity
- BMP280 for barometric pressure (as nice extra)
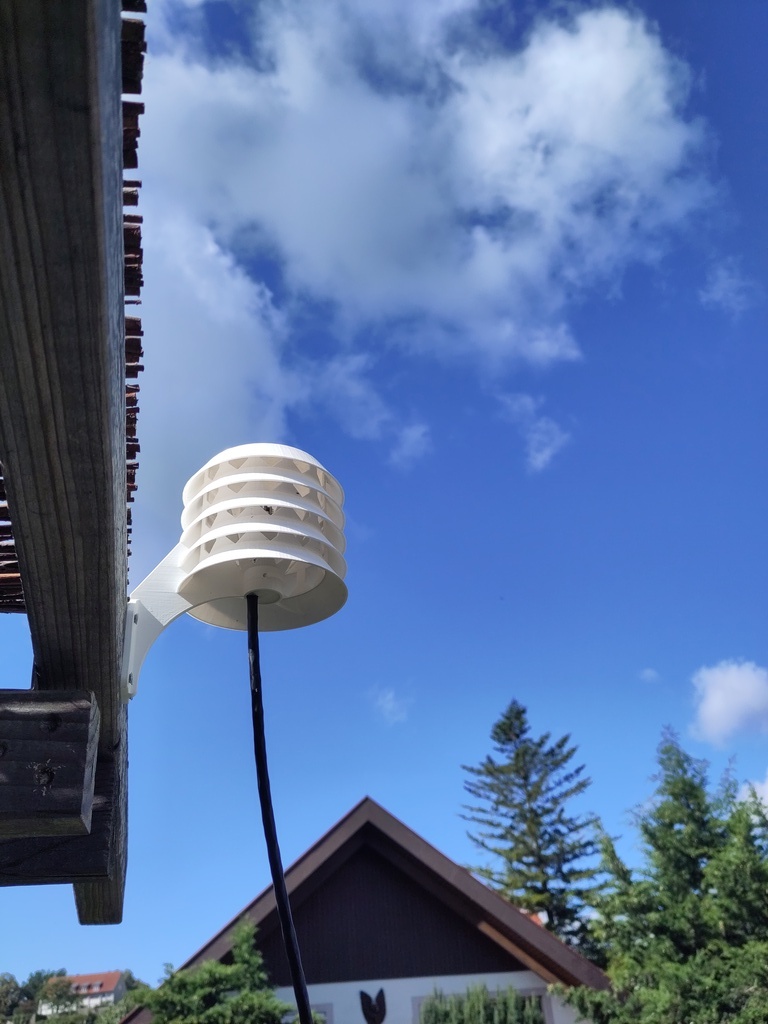
- Sensor Housing: 3d printed Stevenson screen (weatherproof but open for airflow)
The electronics are mounted on the back of the solar panel, making the whole setup compact and easy to install.
Software: ESPHome for Seamless Integration
I chose ESPHome because it’s lightweight, integrates natively with Home Assistant, and supports all my sensors. No need to maintain another IoT platform!
Key Features of My ESPHome Configuration:
- Deep Sleep Mode: The device wakes up every 15 minutes to take readings and send data, then goes back to sleep to save power.
- Battery Monitoring: If the battery voltage drops below 3.7V (50% charge), the device enters deep sleep to conserve power.
- Wi-Fi Signal Strength: Monitors signal quality and converts it to a percentage for easy tracking.
- Over-the-Air (OTA) Updates: No need to physically access the device for firmware updates.
ESPHome YAML Configuration
esphome:
  name: esphome-web-2c2714
  friendly_name: Weather Statation
  min_version: 2025.5.0
  name_add_mac_suffix: false

  on_boot:
    priority: -100
    then:
      - wait_until:
          condition:
            and:
            - lambda: 'return id(htu21d_temperature).has_state();'
            - lambda: 'return id(htu21d_humidity).has_state();'
            - lambda: 'return id(bmp280_temperature).has_state();'
            - lambda: 'return id(bmp280_pressure).has_state();'
            - lambda: 'return id(battery_level).has_state();'
      - delay: 20s # Additional delay to ensure all data is sent
      - if:
          condition:
            lambda: 'return (id(battery_level).state < 3.7);' # Assuming 3.7V is approximately 50% for a 3.7V LiPo battery
          then:
            - deep_sleep.enter:
                id: deep_sleep_1
                sleep_duration: 15min

esp32:
  board: esp32-c6-devkitm-1
  framework:
    type: esp-idf

# Enable logging
logger:

# Enable Home Assistant API
api:

# Allow Over-The-Air updates
ota:
- platform: esphome

wifi:
  ssid: !secret wifi_ssid
  password: !secret wifi_password
  output_power: 16

i2c:
  sda: GPIO19 # Adjust according to your wiring
  scl: GPIO20 # Adjust according to your wiring

sensor:
  - platform: htu21d
    temperature:
      id: htu21d_temperature
      name: "Temperature"
    humidity:
      id: htu21d_humidity
      name: "Humidity"
    update_interval: 60s
    model: HTU21D

  - platform: bmp280_i2c
    temperature:
      id: bmp280_temperature
      name: "Temperature2"
    pressure:
      id: bmp280_pressure
      name: "Pressure"
    address: 0x76
    update_interval: 60s

  - platform: adc
    id: battery_level
    pin: GPIO0
    name: "Battery Level"
    entity_category: "diagnostic"
    update_interval: 60s
    filters:
      - multiply: 2.0

  - platform: wifi_signal
    name: "WiFi Signal dB"
    id: wifi_signal_db
    update_interval: 60s
    entity_category: "diagnostic"

  - platform: copy
    source_id: wifi_signal_db
    name: "WiFi Signal Percent"
    filters:
      - lambda: return min(max(2 * (x + 100.0), 0.0), 100.0);
    unit_of_measurement: "Signal %"
    entity_category: "diagnostic"
    device_class: ""

  - platform: uptime
    id: uptime_seconds
    name: "Uptime"
    update_interval: 60s
    entity_category: "diagnostic"

external_components:
  - source:
      type: git
      url: https://github.com/lboue/esphome
      ref: adc_oneshot
    components: [ adc ]
    refresh: 0s

web_server:
  port: 80

deep_sleep:
  id: deep_sleep_1
  sleep_duration: 15min
Lessons Learned
-
Brownout Issues: The FireBeetle C6 occasionally crashed when switching from battery to solar power. Reducing the Wi-Fi TX power (
output_power: 16) fixed this. -
Waterproofing is Critical: After two months, the BMP280 failed during a heavy rainstorm. I suspect water ingress, so I’ll improve the Stevenson screen before replacing the sensor.
-
TPU Seals Work: 3D-printed TPU seals are effective for weatherproofing small enclosures
Final Thoughts
This setup has been running reliably for months, with minimal maintenance. The solar panel keeps the battery charged, and ESPHome makes it easy to monitor and update. If you’re tired of unreliable off-the-shelf sensors, this DIY approach might be worth the effort!